Talend: tips and tricks part 1
This blog contains some convenient tips and tricks that will make working with the open source tool Talend for data integration a lot more efficient. This blogpost will be especially useful for people who are just discovering this amazing tool, yet I am sure that people who have been using it for a while will also find it very helpful. These series of tips will be spread over multiple blog entries so make sure to check back often for future tips!
1. Testing expressions in the tMap component
Using the tMap component, you have the possibility to test your expressions. This way you can easily see whether or not the result is what you expected it to be. You can also use this to determine whether or not your expression will error. Let’s create an example.
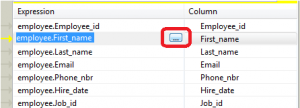
We’ve got details of employees as input for our tMap. We would like the first name to be shown in uppercase. First of all, go into the expression builder by clicking the ellipsis next to your expression.
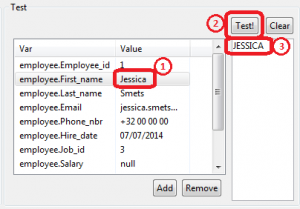
To convert the first name to uppercase, we have to use the StringHandling function “UPCASE”. This will result in the following expression: StringHandling.UPCASE(employee.First_name)
After you’re done filling in test values, click on the “Test!” button and wait for the result. If everything goes as expected, you should see your first name in uppercase on the right side of the window.
2. Optimizing the appearance of the tLogRow component output
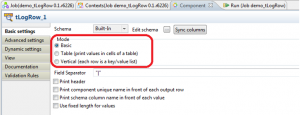
tLogRow is one of the most frequently used components. It is recommended that you learn how to optimize its use. Firstly, make sure that you always have the right appearance selected for your output. You can find this property in the basic settings of your tLogRow-component.
There are three types of Modes that you can choose between:
- Basic
Basic will generate a new line for each record, separated by the “Field Separator” you’ve chosen (see image above). When using basic mode, I highly recommend to check the “Print header” option when working with multiple column records or multiple outputs, purely for visibility reasons.
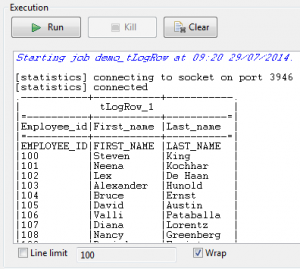
- Table (print values in cells of a table)
The table mode shows the records and their headers in a table-format, including the name of the component that generated this output (in our case: “tLogRow_1”). This emphasizes the importance of properly naming everything, especially when you have multiple components that generate output. In this case, it would have been better to rename our component to “EMPLOYEES”. Personally, I prefer this mode.
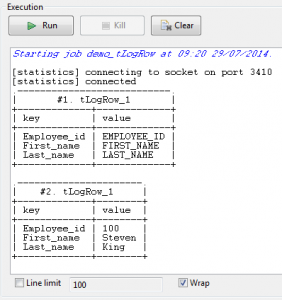
- Vertical (each row is a key value/list)
Vertical mode will show a table for each one of your records.
The output mode you decide to use depends on what you’re trying to visualize. For example, when your goal is to show a single string, I would recommend using the basic mode. But when you have multiple table outputs (for example: departments, customers and employees in a single output), I’m certain the table mode would be the best option.
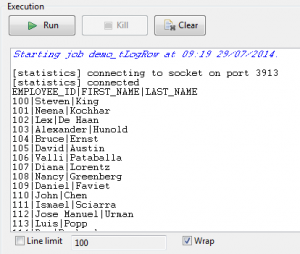
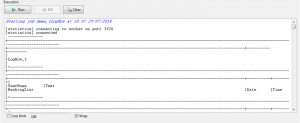
Sometimes your data is spread over multiple lines, resulting in an unclear output, like shown in the image below.
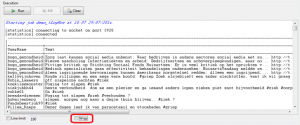
To force the output to put all the data on one single line, you can uncheck the “Wrap” option. This option is located underneath your output and will enable a horizontal scrollbar.
Do you also want to be able to get data regarding tweets using Talend, as shown in the image above? Read my previous blogpost and find out how!
3. Resetting windows and maximizing/minimizing them
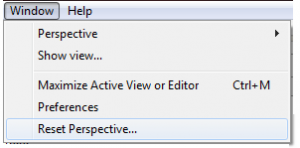
Sometimes you accidently close a window and have a hard time finding a way to get it back. You can very easily reset your environment by clicking on “Window” – “Reset Perspective”.
You can see all of the views by clicking on “Windows” – “Show View” – “Talend”. Some of the views are not shown by default, such as “Modules”. Modules can be used to import .jar-files without having to restart your studio, which will most likely save you some time.
Lastly, because Talend is Eclipse-based, you have the possibility to maximize and minimize windows. I personally use this function when examining the output of a tLogRow-component including a lot of data. You can achieve this by either double-clicking on the window or by right-clicking on it and selecting “Minimize”/”Maximize”.
That’s it for now. I hope you enjoyed reading this blog and make sure to return soon for future blogs!

